This second term is reaching its end. So far we have learned about 3D drawings, collages, sgraffitos... but there is still time to use some technology in our class.
We are learning about augmented reality (AR). Thanks to an APP called Quiver we can see how our pictures come to life through the camera of our tablet or smartphone.
Here you can see a photograph of Iker's Earth map turned into a holographic representation of our planet.
Is it magic? No, it isn't. It's AR!
Angel Manuel is playing with his customized Ford Kuga
The pukeko bird comes to life through the tablet's cammera.
Sarah is happy to see her fashion model on the catwalk.
According to WikipediaSgraffito is a technique either of wall decor or in pottery produced by applying layers and then scratching to reveal parts of the underlying layer.
In Year 5's Arts and Crafts lesson we have designed some sgraffitos by using our imagination and creativity. We have used Manley crayons. First we painted a multicolour layer and then we applied a second layer to cover everything in black. Finally, we scratched the black layer to reveal the colours underneath and get a beautiful picture.
Here you can see Year 5A & 5B kids proudly showing their work of arts. Enjoy!
Thanks to Marina (year 5B) for suggesting us doing this activity.
In Year 5A and 5B we have revised our unit about energy by using an online tool called Popplet. This tool allows to create mind maps on our computer screen.
Here are the popplets designed by the students in class:
FORMS OF ENERGY
ENERGY SOURCES
HEAT
THE SUN
Popplet has an iOS version for iPad. Android users can use SimpleMind Free.
Two years ago I taught about optical illusions to both my year 5 and year 6 groups. The kids loved it so much back then that I decided to try this lesson again with my new Year 5A and Year 5B groups.
- On the first lesson we created the 3D dragon craft found on Grand Illusions website.
First we revised the vocabulary on the worksheet (mountain fold, valley fold, cut out, colour...), then we cut out the model and finally we folded and glued following the instructions on the sheet.
- On the second lesson students designed their own 3D model from the template I provided to them.
- Finally, on the third and last lesson we crafted Skully, the 3D Skeleton, being Halloween so close. I found him on eChalk website, where you can download its full colour template in PDF format.
You can find many more 3D designs to download and craft at home on NowhereElse Optical Illusionswebsite. There are some other optical illusions you will enjoy:
ToonyTool es una página web donde podéis crear vuestros cómics o historietas de manera muy sencilla y rápida.
Los pasos son los siguientes:
1. Elegimos el fondo (Backgrounds). Podemos utilizar los fondos que nos proporcionan o bien subir una imagen desde nuestro dispositivo.
2. Añadimos los personajes de los proporcionados por la herramienta, o los nuestros a través del botón Browse. Podemos añadir tantos personajes como queramos.
3. Ahora toca añadir los bocadillos (Bubbles) para dar voz a los personajes o establecer el contexto.
4. Props: con esta opción podemos añadir las onomatopeyas que necesitemos u otros elementos decorativos.
5. Por último, si estamos realizando un meme adjuntamos el texto.
Una vez hemos terminado podemos enviarlo por email, imprimirlo, descargarlo,
guardarlo online o compartirlo a través del enlace (direct link) o redes
sociales como Facebook, Twitter y Google+.
Una opción muy interesante es la de HTML ya que nos proporciona el código para incrustarlo en un blog o página web.
Adjunto os dejo una muestra que he realizado en un par de minutos:
Last term we have worked on a PBL project titled Spain in the European Union in our year 6's Bilingual Science class.
Based on CLIL approach we have designed a project in which kids created a digital presentation or activities as final product.
The main purpose was that my pupils were responsible for their learning. I shoud act as a guide for the process. This new methodology shocked them at first. This was something completely new in their school life. So I begun offering them the choice to either learn by doing a project (assessment included) or learn traditionally from their teacher's lecture. They voted for the first option: more exciting and working with computers & tablets.
Firstly, we set up five different groups of their choice (4-5 students). Secondly, each group chose which part of the project they would tackle:
Part 1: Spain, a democratic country (digital presentation)
Part 2: The European Union (digital presentation)
Part 3: Spain in the European Union (digital presentation)
Part 4: Activities (digital activities online)
Part 5: Evaluation (rubric + kahoot + online test)
Time to work! Should we use Prezi or Google Presentations? Why don't we use Canva instead?
The hardest task was to find and select the information they needed. They also used their textbook to check for contents. At every moment guidelines were available on our elearning environment (eScholarium) as well as some webgraphy.
Pupils could access some guidelines for their project at all times.
They worked collaboratively in order to reach their goal. Discussion, negotiation, assessment... so many learning processes were involved at the same time... We escaped the limits of our classroom. Meanwhile some kids were in our class working on their tablets connected to our class wifi spot some others worked in the computers room downstairs. And we escaped the limits of our fixed class schedule as some days they voluntarily remain in class or the library at break time.
Finally, here are their final products. So proud of you, kids!
Our classmate Helena Corzo is participating in the XXV Concurso de Pintura Infantil y Juvenil para Centros Escolares contest organised by Patrimonio Nacional institution in Madrid.
She has painted Granada's Alhambra using Massa Solís' colourful technique. She is an extraordinary painter, don't you think?
Her classmates and teachers wish her good luck in the competition. For us she is already the winner!
Helena's picture: "Llora como mujer lo que no supiste defender como un hombre"
Ladies and gentlemen, here you are the winners of the first Year 6 Comic contest at Maximiliano Macías school!
Year 6A winner: Helena Corzo Nieto
Year 6B winner: Melina Ferrer Rodríguez
We would like to thank every voter from around the world who voted via Twitter, Facebook or Google+, specially pupils at CEIP La Fuente, from Nambroca (Toledo, Spain) and their teacher Alfonso Méndez. Thanks everyone!
This term we have learned about electricity and magnetism in Bilingual Science class.
As a final project, children had to apply their knowledge by creating a model where electricity or magnetism would be used. Objects, materials and size were set by their own creativity. They could ask for their parents' help if they needed to.
The products were astonishing! Here you are some pictures to show how hard they worked. Well done, kids!
P.S. Photo story and spiral have been designed by using PhotoPeach.
In Years 6A and 6B kids have created a comic individually. As part of the activity, we turned it into a drawing contest and the winner would get a prize.
We have started voting for the best comic in Year 6A during Easter holidays. Year 6B comics will be voted next week.
In Year 6A there are six comics to enter the contest but only one will get the win. A voting link has been shared over the internet: Facebook, Twitter and Google+. Good luck to the authors!
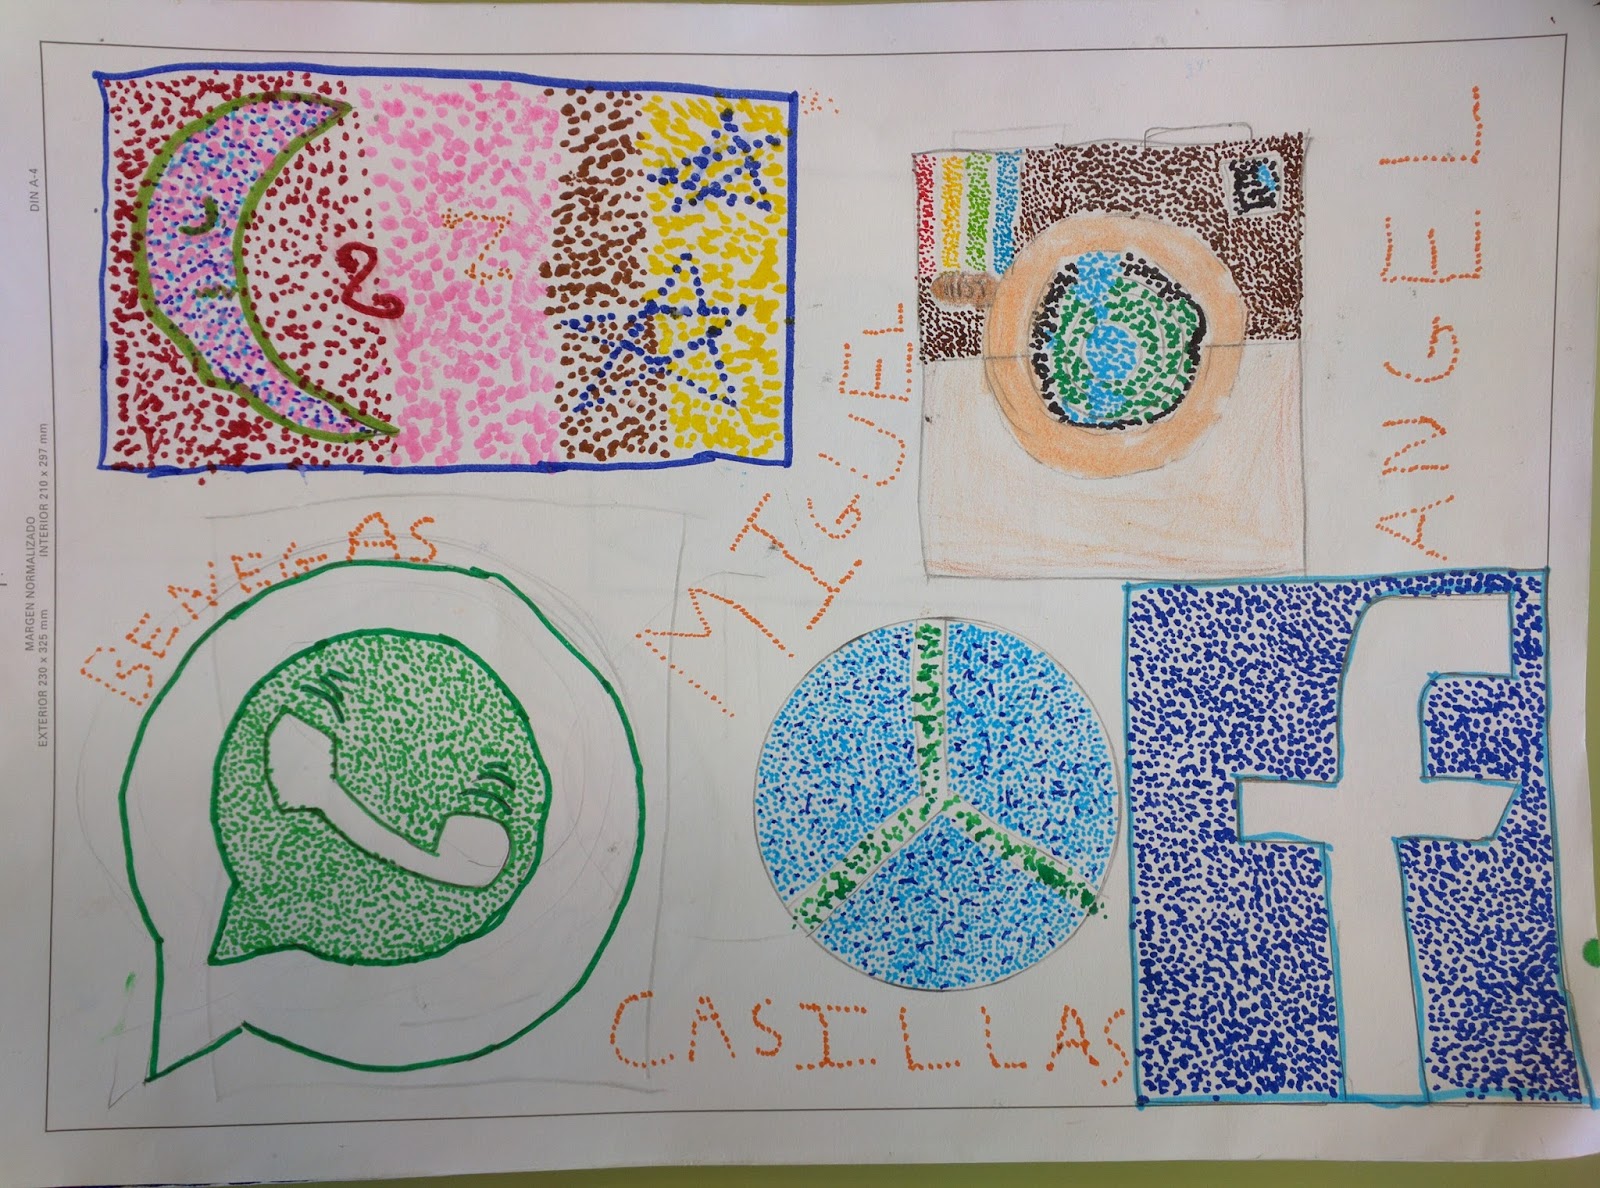
This month we are learning about a new painting technique. It is called Pointillism. It consists of drawing or painting by using small dots or points.
Year 6 kids are creating awesome pictures by using the pointillism technique. Teacher Francisco asked them to draw a picture out of their imagination, trying not to copy from the internet or a book. As you can see below, they can be very creative and may become great artists in the future.
Last Tuesday we created a mural to celebrate Peace Day in year 6B.
First we split up in four groups. Group 1 would design the title; group 2 would find out and write the word "Peace" in different languages; group 3 would colour, cut out and stick some doves on our mural; and group 4 would research the Web and write quotes from Nobel Peace Prize winners.
Then we all started working and helping each other. We all colaborated to finish our project and we were very happy with the result!
During the first term year 6A and 6B students learned about stop motion in films and created their first video in Arts & Crafts bilingual class. We published about this activity in our blog last month.
This term we have studied animals in both year 6's bilingual Science groups.
As a final activity Kids had to create a digital project (a poster or a presentation) using any digital tool they liked, so we practised the digital competence too. They have chosen Genial.ly, Prezi, Google Presentations and PicsArt.
Finally, they had to share their work on a collaborative wall on this Padlet.
It has been a rewarding experience. Students have been so motivated towards this final project that they have voluntarily decided to remain in the computers room during their break time in order to keep on working on their posters and presentations. Great work, children!
According to Wikipedia, Stop motion is an animation technique that physically manipulates an object that appears to move on its own. The object is moved in small increments between individually photographed frames, creating the illusion of movement when the series of frames is played as a continuous sequence.
Shaun the Sheep Movie, Frankenweenie, Wallace & Gromit: The Curse of the Were-Rabbit or Chicken Run, are some examples of modern films using stop motion technique. We take pictures and we move the objects on the scene. Finally we play the pictures one after another and we get the feeling that the objects are moving. Here you are a classic movie filmed using the stop motion technique: The Lost World (1925)
What do we need?
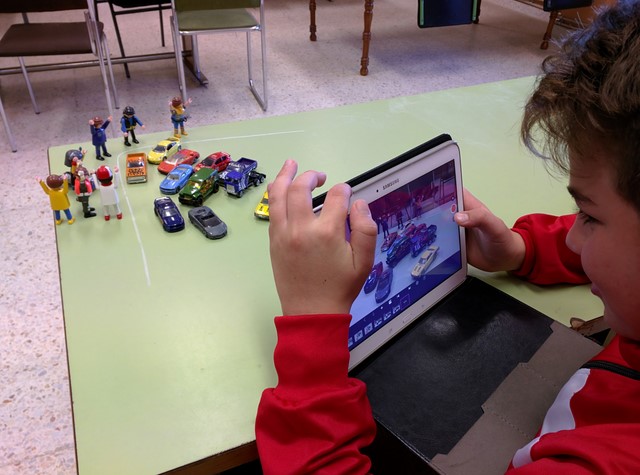
We have used our tablets or smartphones cameras and software. For Android devices we used Stop Motion Studio. Thanks to this app you can take pictures and create the video. With this free version we cannot add music so we needed another app like VideoShow.
Extra material for our films have been: toys, plasticine, card, paper... almost any material we thought that could be very useful for our film making. We created characters and a scenary!
Steps we followed
In order to create our project we followed these steps:
1. Planning: we divided our class into groups of three or four students.
2. Designing: we agreed on the topic of our video, the characters and the script.
Writing the script
3. Creation: in this step we started working on our project; we created our characters and background, downloaded the apps and started taking pictures for our video.
Modelling our characters
Modelling our characters with plasticine
Creating the backgrounds
Time to start taking pictures!
We take picture after picture after picture to create our film
4. Edition: In this step of our project it is time to edit our video and add some music to it!
5. Promotion: Currently undergoing! We are uploading our films to online servers (YouTube, Vimeo...) sharing it with our classmates via our class blog, school website, etc.
We will soon hold our films premiere in class and analyse what we have learnt in this project, what we have done well and what we need to improve for the future.